Select Setup from the main menu. You will be presented with a camera view. Initially, there will be no zones present. You can now add multiple zones to the view as required.
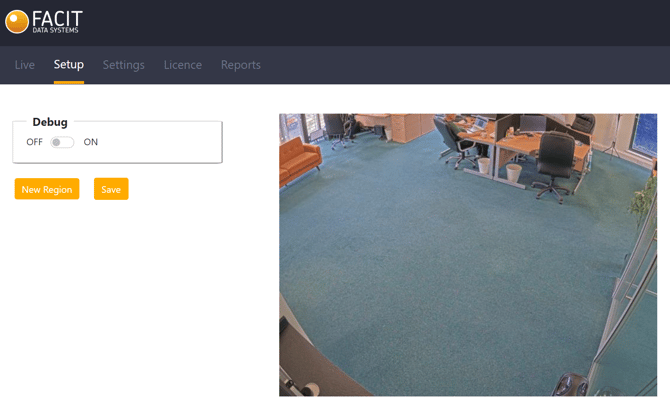
To add a zone, click New Region, and then click on the screen at the required points to form the border of the zone. To complete the zone, you will need to click back on the starting point, and then click Save.
Additional zones can then be created as required. The screenshot below shows two zones.
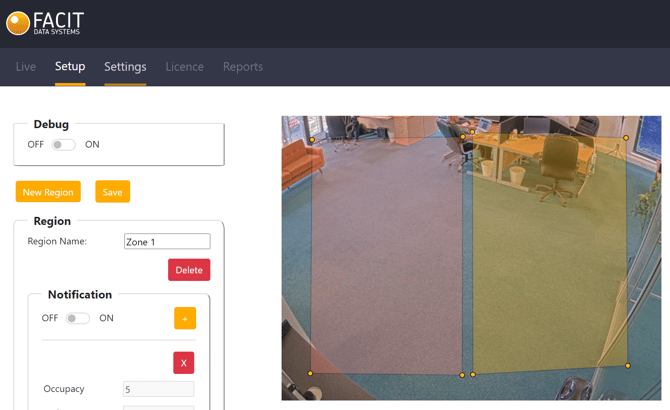
Note that one of the zones is orange and the other is pink. Once zones are created, they can be selected by clicking inside the zone. The selected zone is highlighted pink and all other unselected zones are highlighted orange. The Region panel to the left hand side shows the details for the zone which is currently selected.
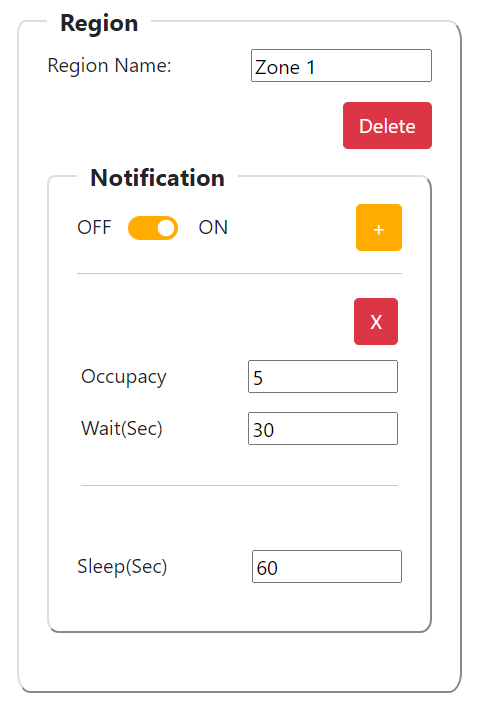
Here, you can set a name for the zone so it can be easily identified in the reporting section. You can also change the notification parameters. Note that any changes made to the Region panel will require you to click the Save button to confirm.